
This card, while pretty, has one of those "do-not-do-this-again" oops on it. For future reference, do not use Crystal Accents to adhere lace to a card--it shows. The papers here are digital prints.

The colored background on this card was made by melting crayon shavings onto an old book page. Use an old iron and make sure you have extra old papers over the colored shavings so you don't melt them onto the bottom of the iron. I had the iron on it's hottest setting.

The two blue finial embellishments were leftovers from a Silhouette Cameo die-cutting project. The leftovers after you die-cut something can be a bonus; you just have to think outside the box. The background paper is a digital print. The sweet little birthday girl is from Dearie Dolls. You'll find the link in my blog roll.

This card uses another digital paper for the background. I apologize for not keeping track of which company I got this from. I have a LOT of digital paper designs, some I've bought, some I've gotten free. You can also make your own if you have the right software programs.
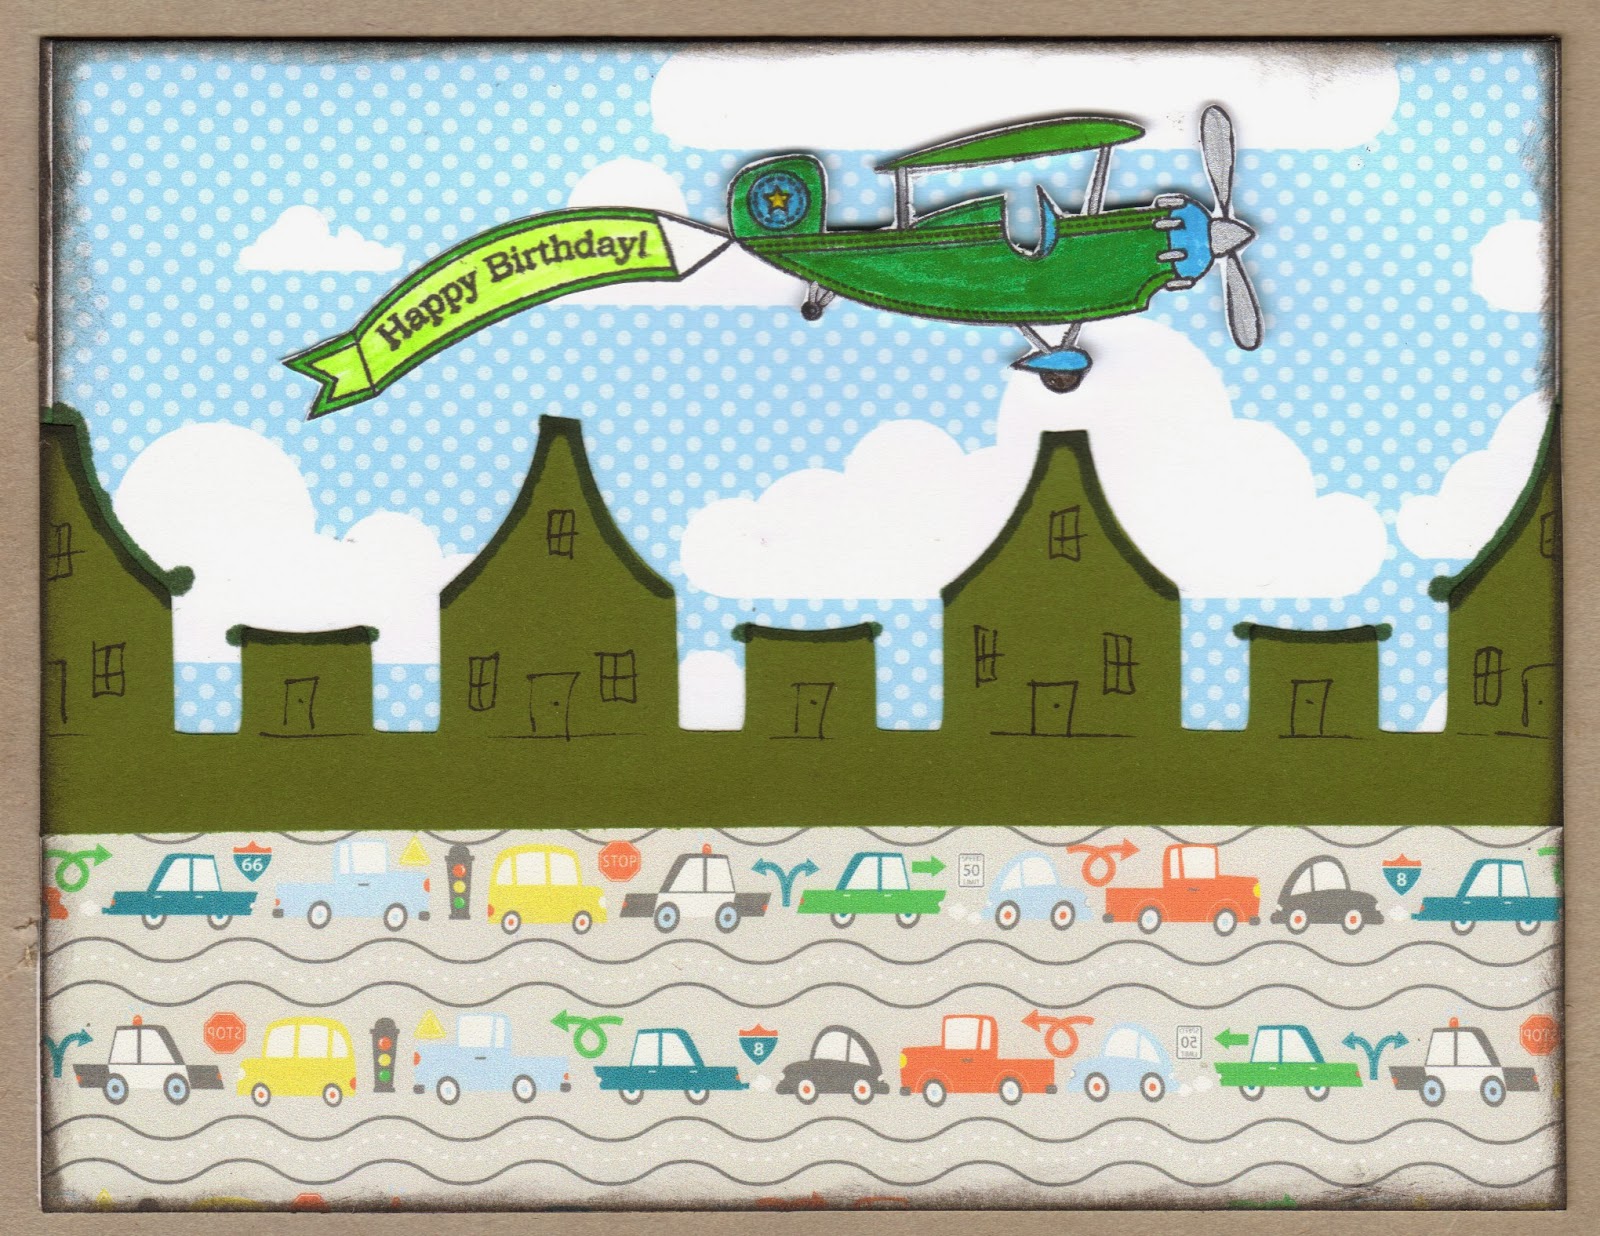
The cute little plane and it's banner are from Papertrey Ink, one of my favorite stamp companies. The row of little green houses is the result of another Silhouette Cameo die-cut leftover. The background papers are more digital prints.

.jpg)
This card makes use of a cool technique I came across. You take thin strips of your paper scraps, adhere them on a piece of cardstock, run them through a Big Shot or Cuttlebug in your favorite embossing folder (I used Swiss Dots), and use that to make a panel for the front of your card. I love this technique and have thin strips of paper saved just to make more of these.

On this card I used actual leftover fabric strips to make the background; I sewed them on my sewing machine. The tricky part is getting them to stay in place while you sew. A narrow strip of double-sided adhesive applied to the center of each fabric strip was a big help with this! I think I'll use iron-on interfacing next time, though. Oh, and you don't want to stitch through the adhesive; it gums up your needle too much and you'll have a nasty mess very quickly.

This card uses one of the wonderful wordarts I've accumulated from Paulette at Create with TLC. You'll find her blog in my blog roll. I cannot say enough good things about her blog and all the wonderful freebies she shares! She does some terrific blog hops every so often and has a fabulous store, too! If you aren't already following her, you'll definitely want to check her blog out. Many of the wordarts, images, and some of the papers I use come from Create with TLC. I know the paper on this card is a digital print but it's not from Create with TLC; I don't remember exactly where I found it, but I'm guessing it came from a set you can find for free on ScrapbookScrapbook (link on the side of my blog).


That gorgeous flower is from Fred She Said--LOVE her designs!

This card has another pieced and stitched background, all papers this time, with another Create with TLC wordart. Off hand, I can't remember if the card image came from her or from Clearly Vintage.


.jpg)

The background paper is a digital print. I believe the image and the wordart is from Create with TLC. The strip with the ships on it is from Go Make Something, another site I really like.

This card has another pieced and stitched paper background. The image is one I purchased from PC Crafter, a company with digital clipart that I loved, but has unfortunately closed up shop. I'm so glad I purchased the sets that I did before they went out of business. I only wish I'd had the $$ to purchase many more of the sets I had on my wishlist there.

.jpg)
.jpg)
No comments:
Post a Comment